Switching your WordPress theme to Neve is a great choice for anyone looking for a fast, lightweight, and customizable theme.
Whether you’re creating a blog, portfolio, or eCommerce site, Neve is designed to meet your needs. This guide will walk you through the steps to install and set up Neve, ensuring a seamless transition.
The Neve theme by Themeisle is an exceptional choice for those seeking a fast, lightweight, and beginner-friendly solution to build their WordPress website.
Known for its multi-purpose capabilities and seamless integration with popular page builders like Elementor and Gutenberg, Neve is perfect for personal portfolio sites, small businesses, startups, e-commerce shops, and blogs.
In this tutorial, we’ll guide you step-by-step on how to install the Neve theme, including its free version and premium Neve Pro features, so you can customize your site to perfection.
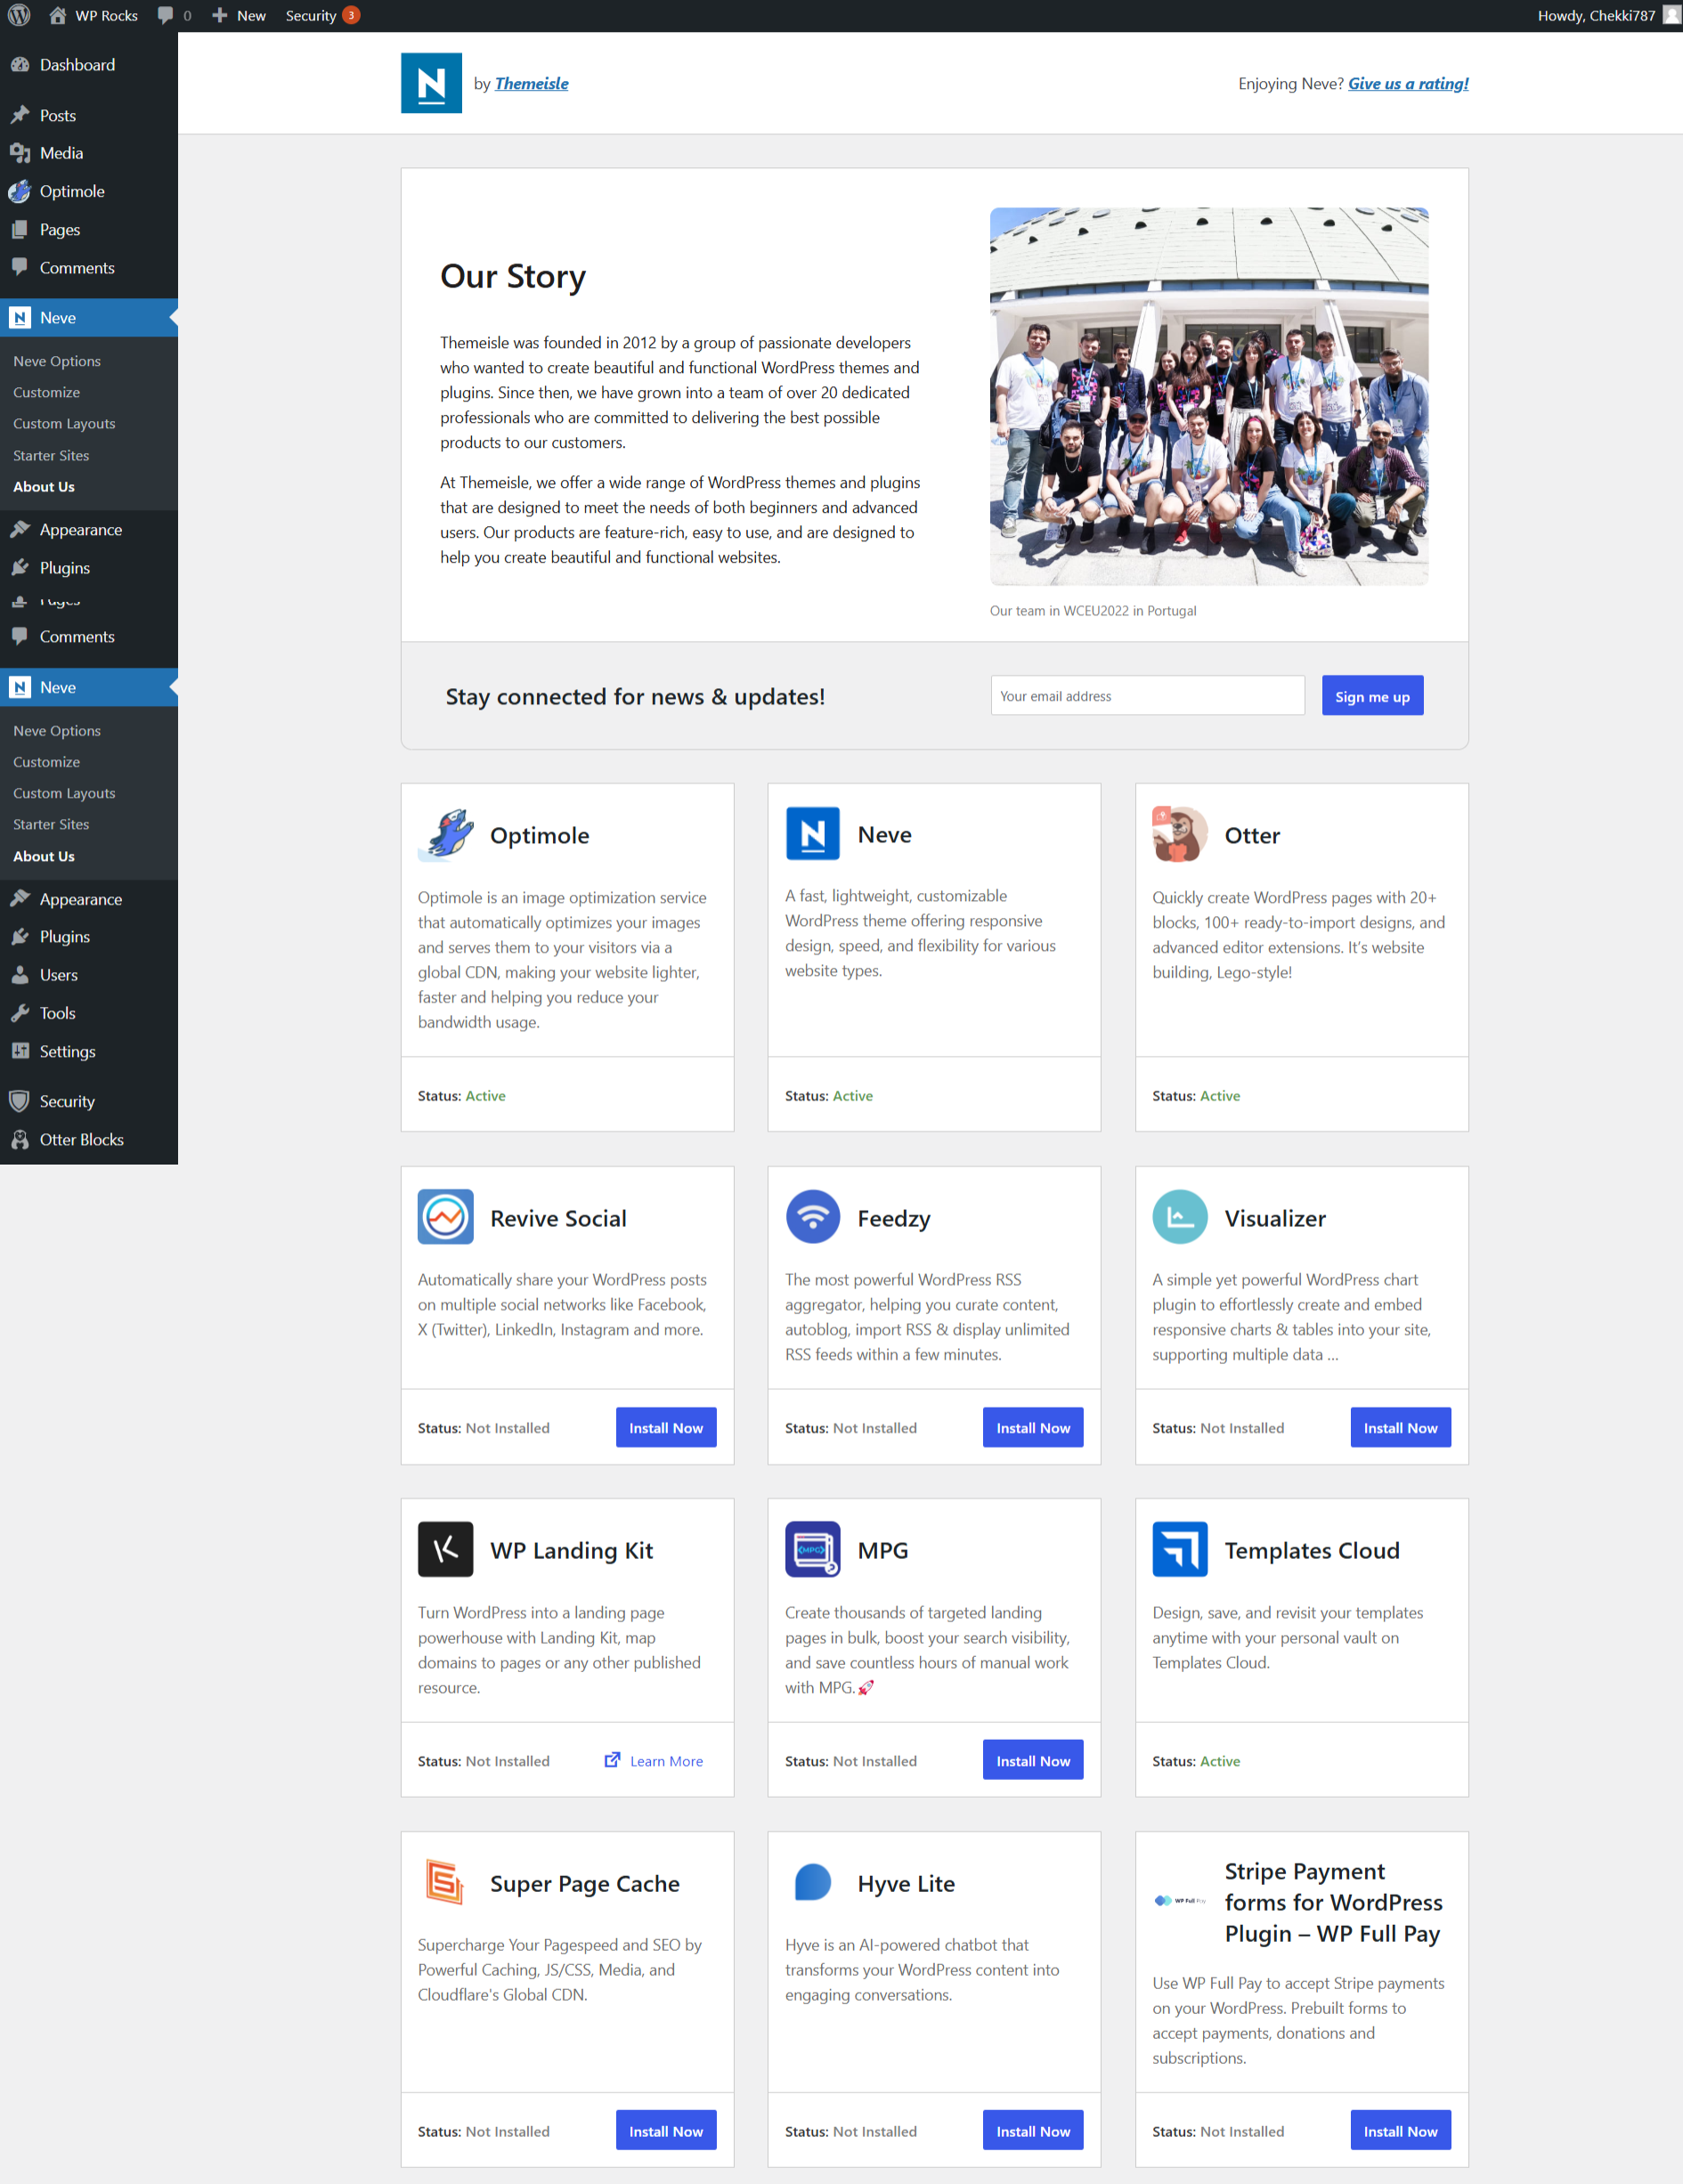
How to Install Neve Theme WordPress: Introduction
- Installing the Neve theme on your WordPress website is a straightforward process that even beginners can follow.
- With its ready-made templates and starter sites, you can get a professional-looking design without any coding.
- Neve is not just super-fast but also optimized for SEO, ensuring your site ranks well on search engines like Google and Bing.
- Whether you’re downloading Neve from WordPress.org or uploading a premium version purchased from Themeisle, this guide covers every step to activate and configure your theme for maximum impact.
We’ll also explore how to import demo content, customize your website’s header, footer, menu, and sidebar, and add essential plugins to extend functionality. Plus, if you’ve purchased Neve Pro, we’ll show you how to unlock its advanced features to elevate your website design further. Make sure you use the latest version of the Neve WordPress theme to enjoy its full potential and stay ahead in 2024’s competitive web landscape.
Let’s dive into the process and transform your WordPress site with Neve, the high-quality theme managed by everyone from startups to established businesses.
Steps on How to Switch Your WordPress Theme to Neve
Switching themes may seem intimidating, but Neve makes it simple and efficient. Here’s how you can do it step-by-step.
Step 1: Take Backup of Your Website
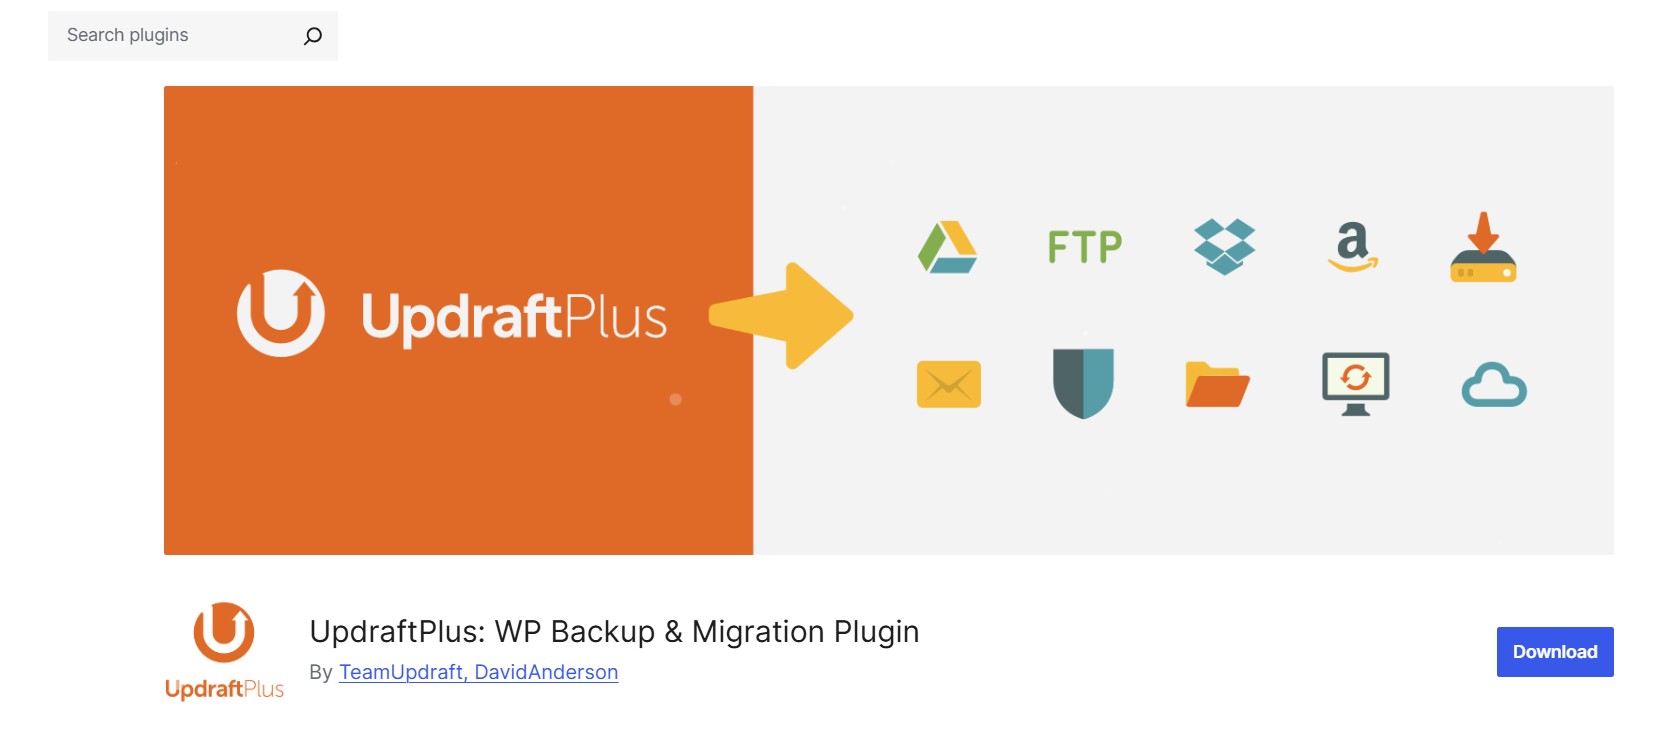
Before making any major changes, it’s crucial to back up your website. A backup ensures you can restore your website if anything goes wrong during the theme change. Use plugins like:
- UpdraftPlus: Easily schedule backups and restore them.
- BackupBuddy: Ideal for advanced users who need more features.
Taking a backup is a precautionary measure to protect your data and maintain website integrity.
Step 2: Download and Install the Neve Free Theme
- Navigate to your WordPress dashboard by logging in with your admin credentials.
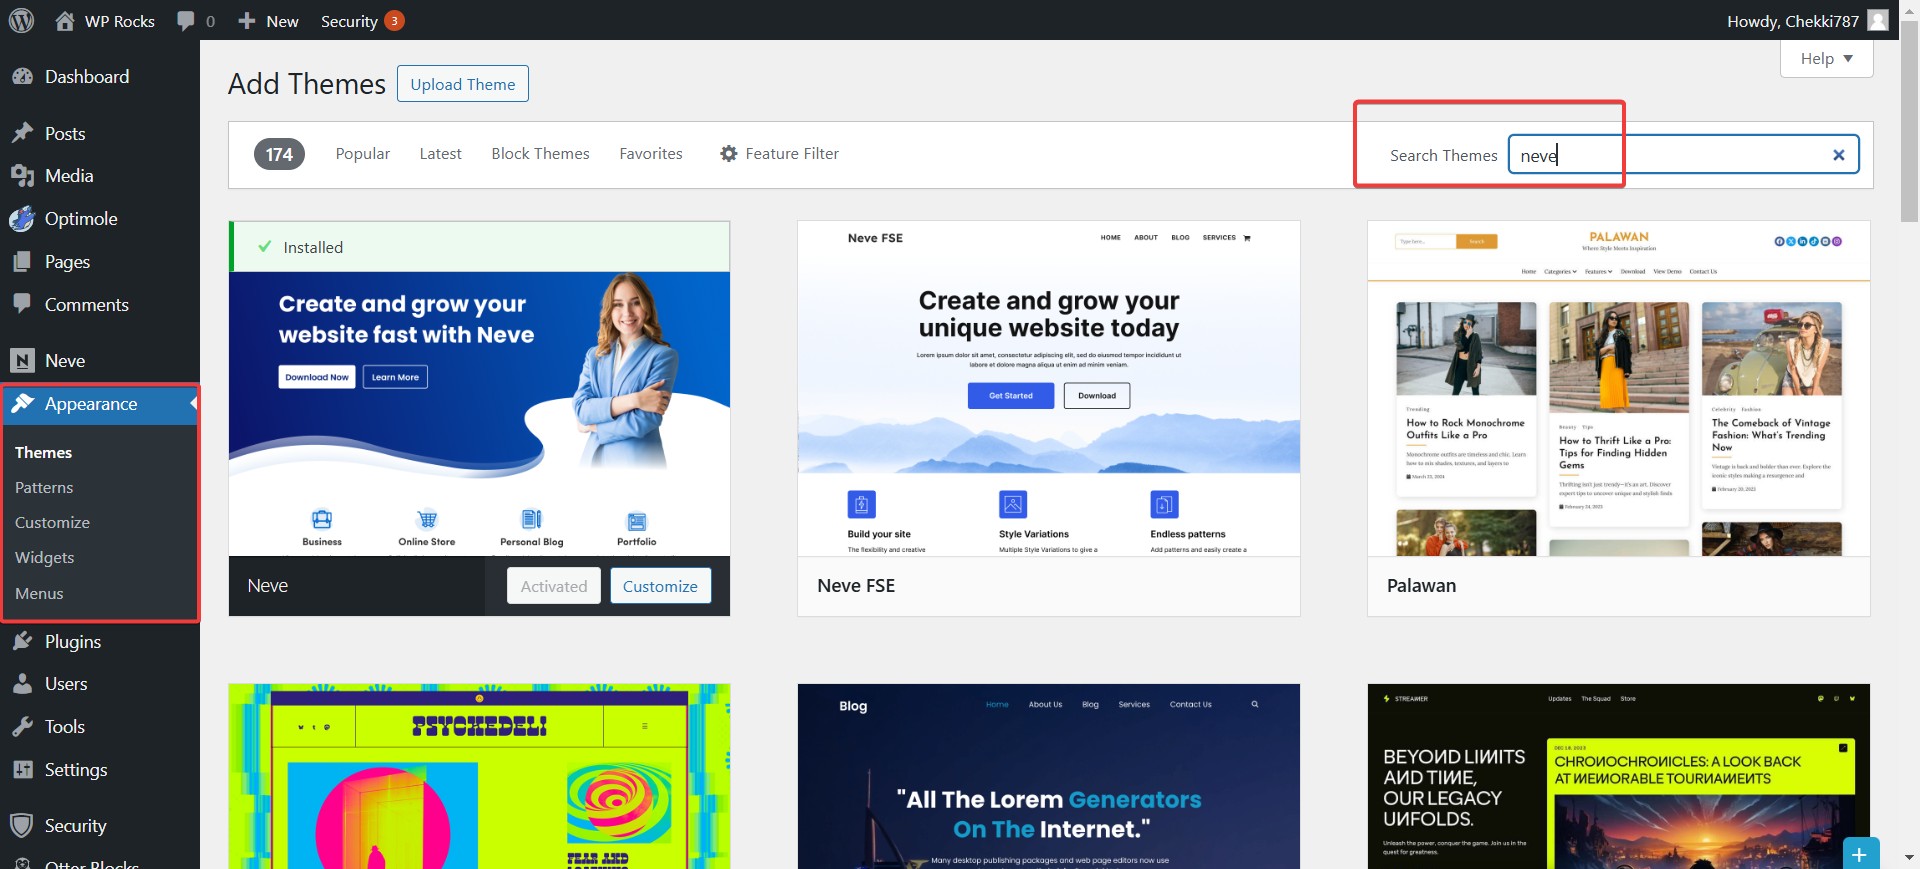
- From the left-hand menu, go to Appearance > Themes, and click the Add New button at the top of the page.
- In the search bar located on the top-right, type “Neve” and press enter. This will display the Neve theme.
- Locate the Neve theme from the search results and click Install. The installation process may take a few seconds.
- Once installed, you’ll see an option to activate the theme immediately or later. For now, proceed to activation if ready.
The Neve free version is packed with essential features such as a lightweight structure, responsiveness, and compatibility with most plugins. It’s an excellent starting point for building a functional and visually appealing website.
Step 3: Activate Neve Free Theme On Your WordPress Website
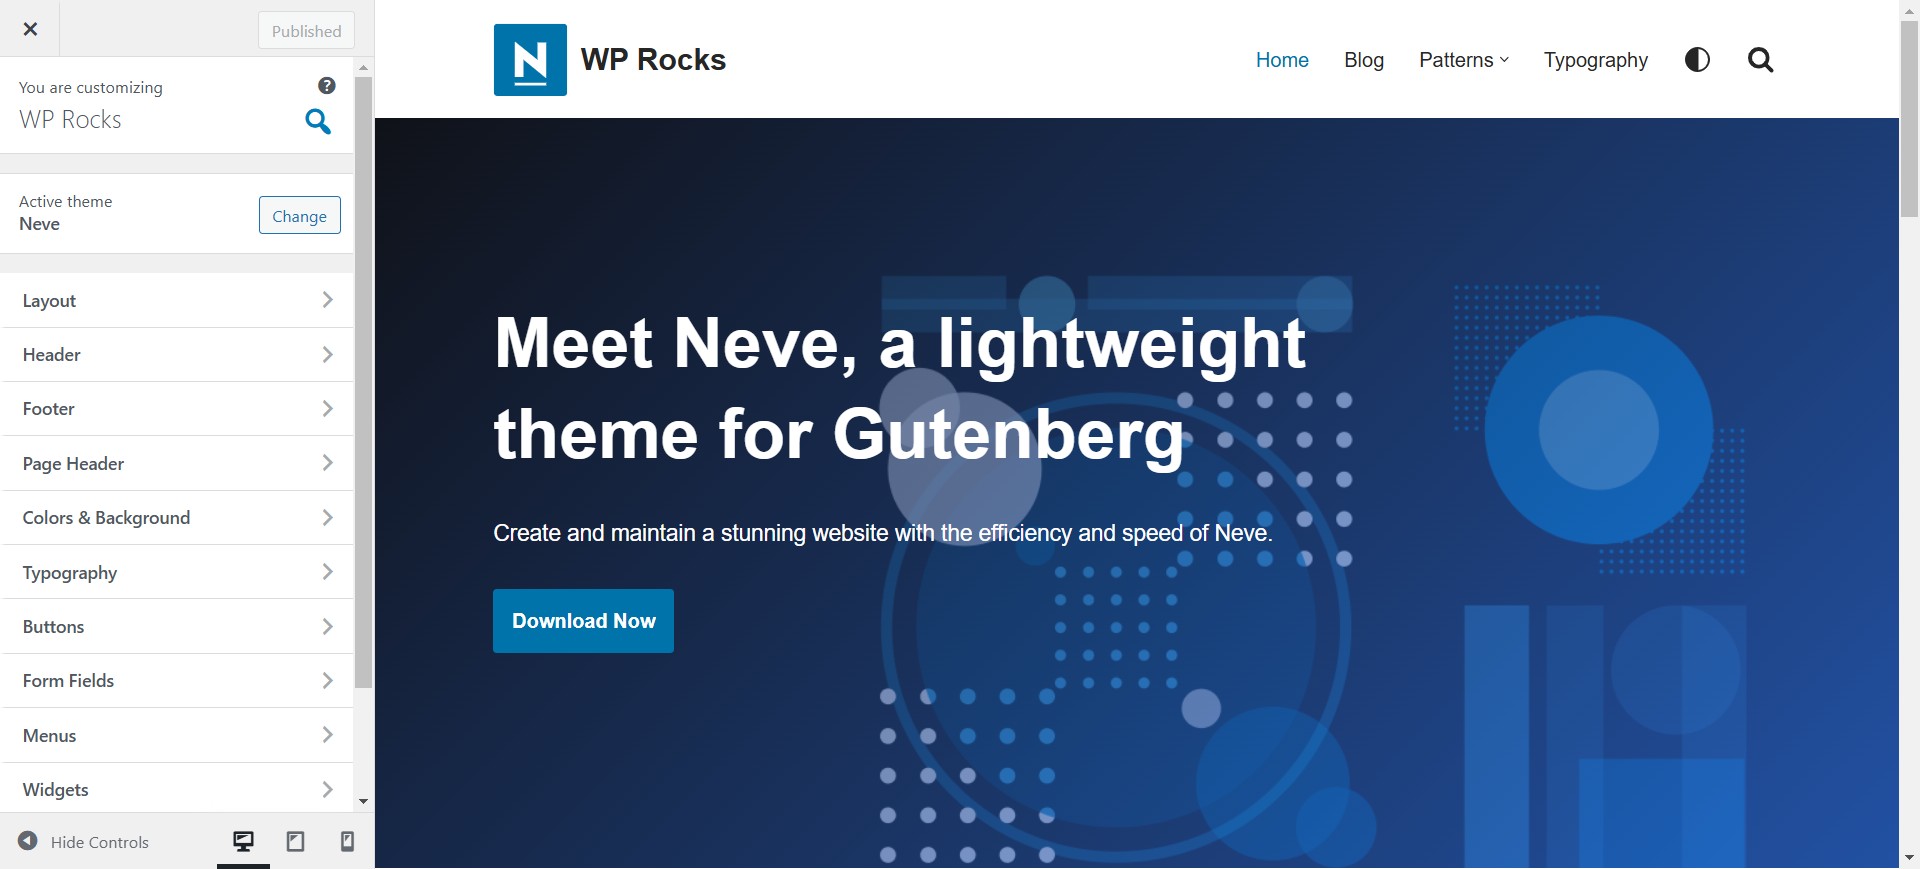
After successfully installing Neve, click on the Activate button to make it your active theme.
Once activated, you’ll be greeted with a welcome screen that provides options to start customizing your website immediately.
Neve is designed for compatibility with page builders like Elementor, Beaver Builder, and Gutenberg, which makes creating unique layouts intuitive and straightforward.
Take some time to explore the Appearance > Customize section, where you can tweak basic settings such as your site identity, colors, and general layout. If you’re importing a demo site using the Neve Starter Sites plugin, this is also a good time to do so.
Step 4: Purchase and Download Neve Pro
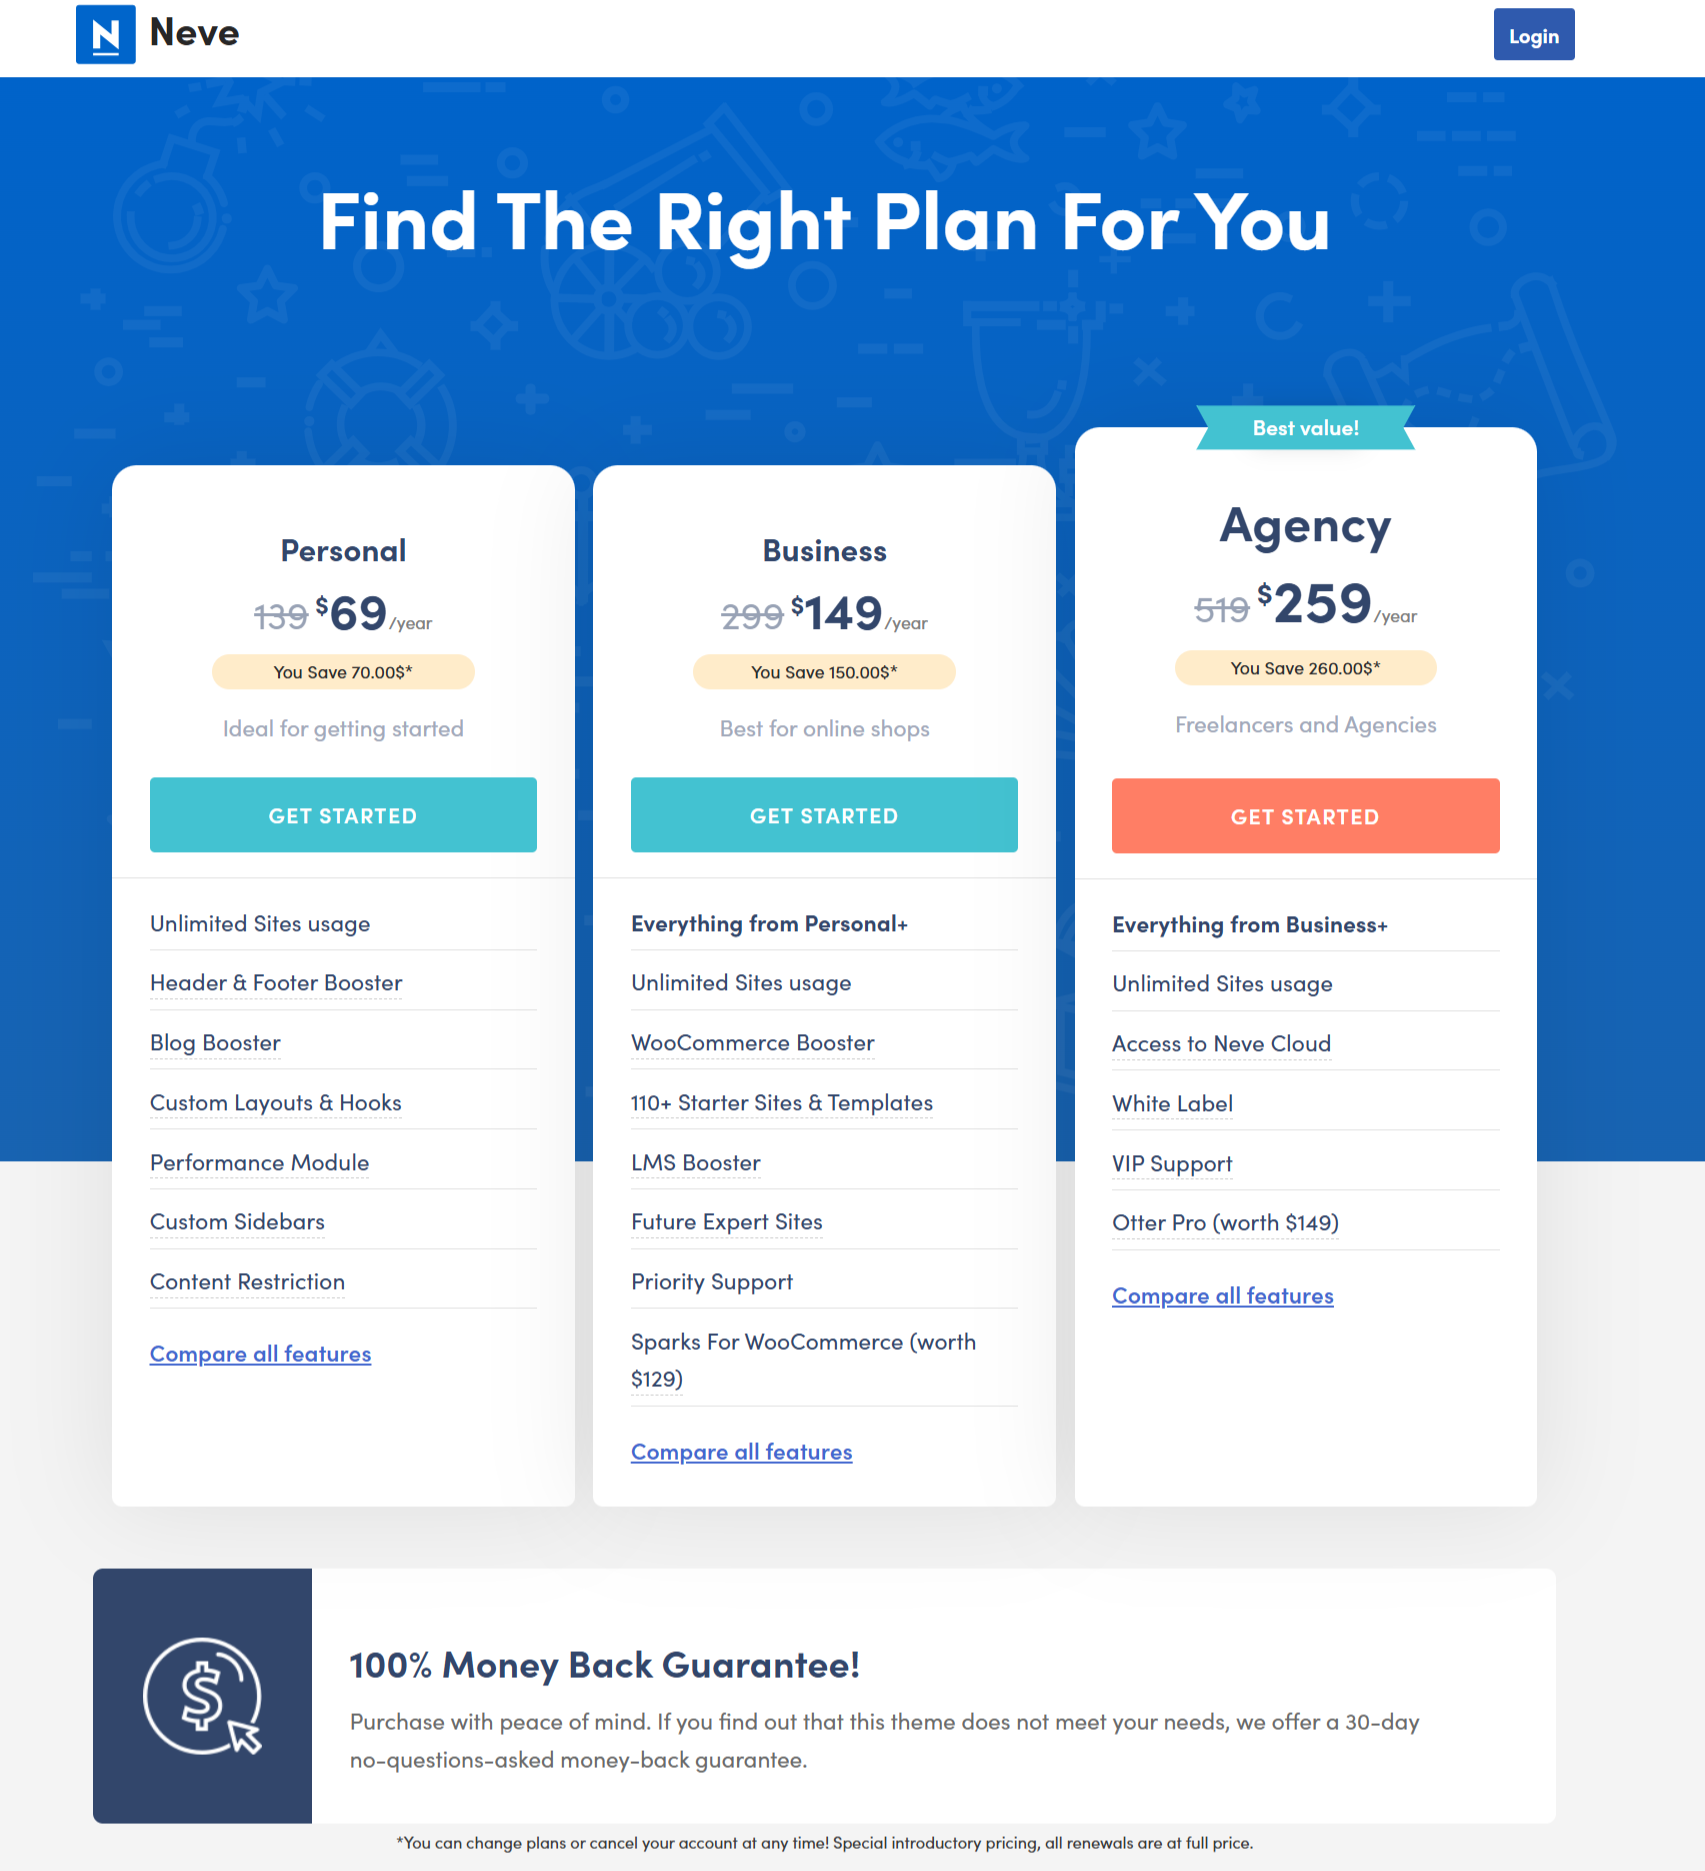
While the free version of Neve is excellent, upgrading to Neve Pro unlocks advanced features and customization options.
What Do I Get With Neve Pro?
- Premium Starter Sites: Gain access to an extensive library of pre-designed templates tailored for various niches, including blogs, portfolios, eCommerce, and business websites. These templates save time and provide a professional look with minimal effort.
- WooCommerce Booster: Unlock advanced eCommerce features, including improved product display options, optimized checkout flows, and additional layout settings to enhance the user experience and drive conversions for online stores.
- Advanced Customization Options: Enjoy greater control over your website’s design with enhanced header and footer customization, global color schemes, and typography options that align with your branding.
- Priority Support: Receive dedicated support from the Neve team for any issues or queries, ensuring a hassle-free experience while managing your site.
- White Labeling: Customize the theme’s branding, making it ideal for agencies managing multiple client websites.
Download Neve Pro Addon
Once purchased, log in to your account on the official Neve website. Navigate to the download section, locate the Neve Pro plugin, and click the download button. Save the file to your computer in an easily accessible location for upload later. Detailed documentation and guides are also available to assist with the setup process.
Step 5: Upload the Neve Pro Plugin
- Go to Plugins > Add New in your WordPress dashboard.
- Click Upload Plugin and select the Neve Pro file from your computer.
- Click Install Now to begin the upload process. After the installation is complete, click the Activate button to enable the plugin.
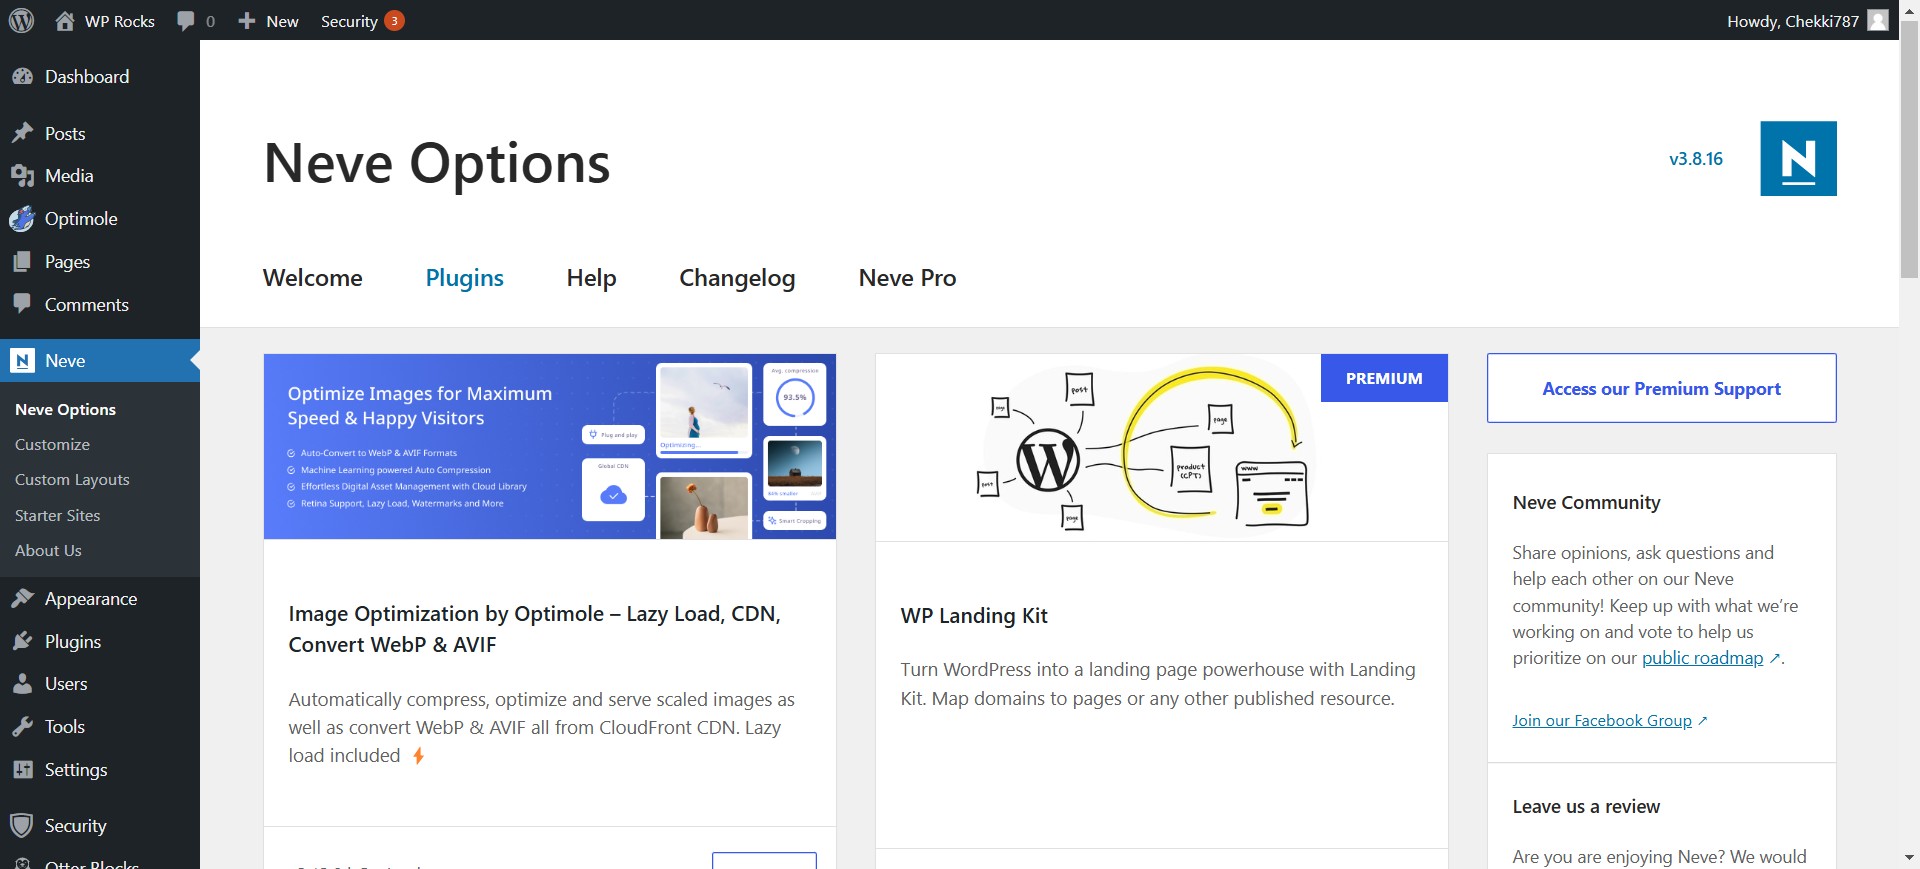
- Once activated, navigate to Appearance > Neve Options to confirm that the premium features have been enabled.
This step unlocks the full potential of Neve, allowing you to access advanced customization options and premium starter sites.
Step 6: Install Neve Starter Sites Plugin
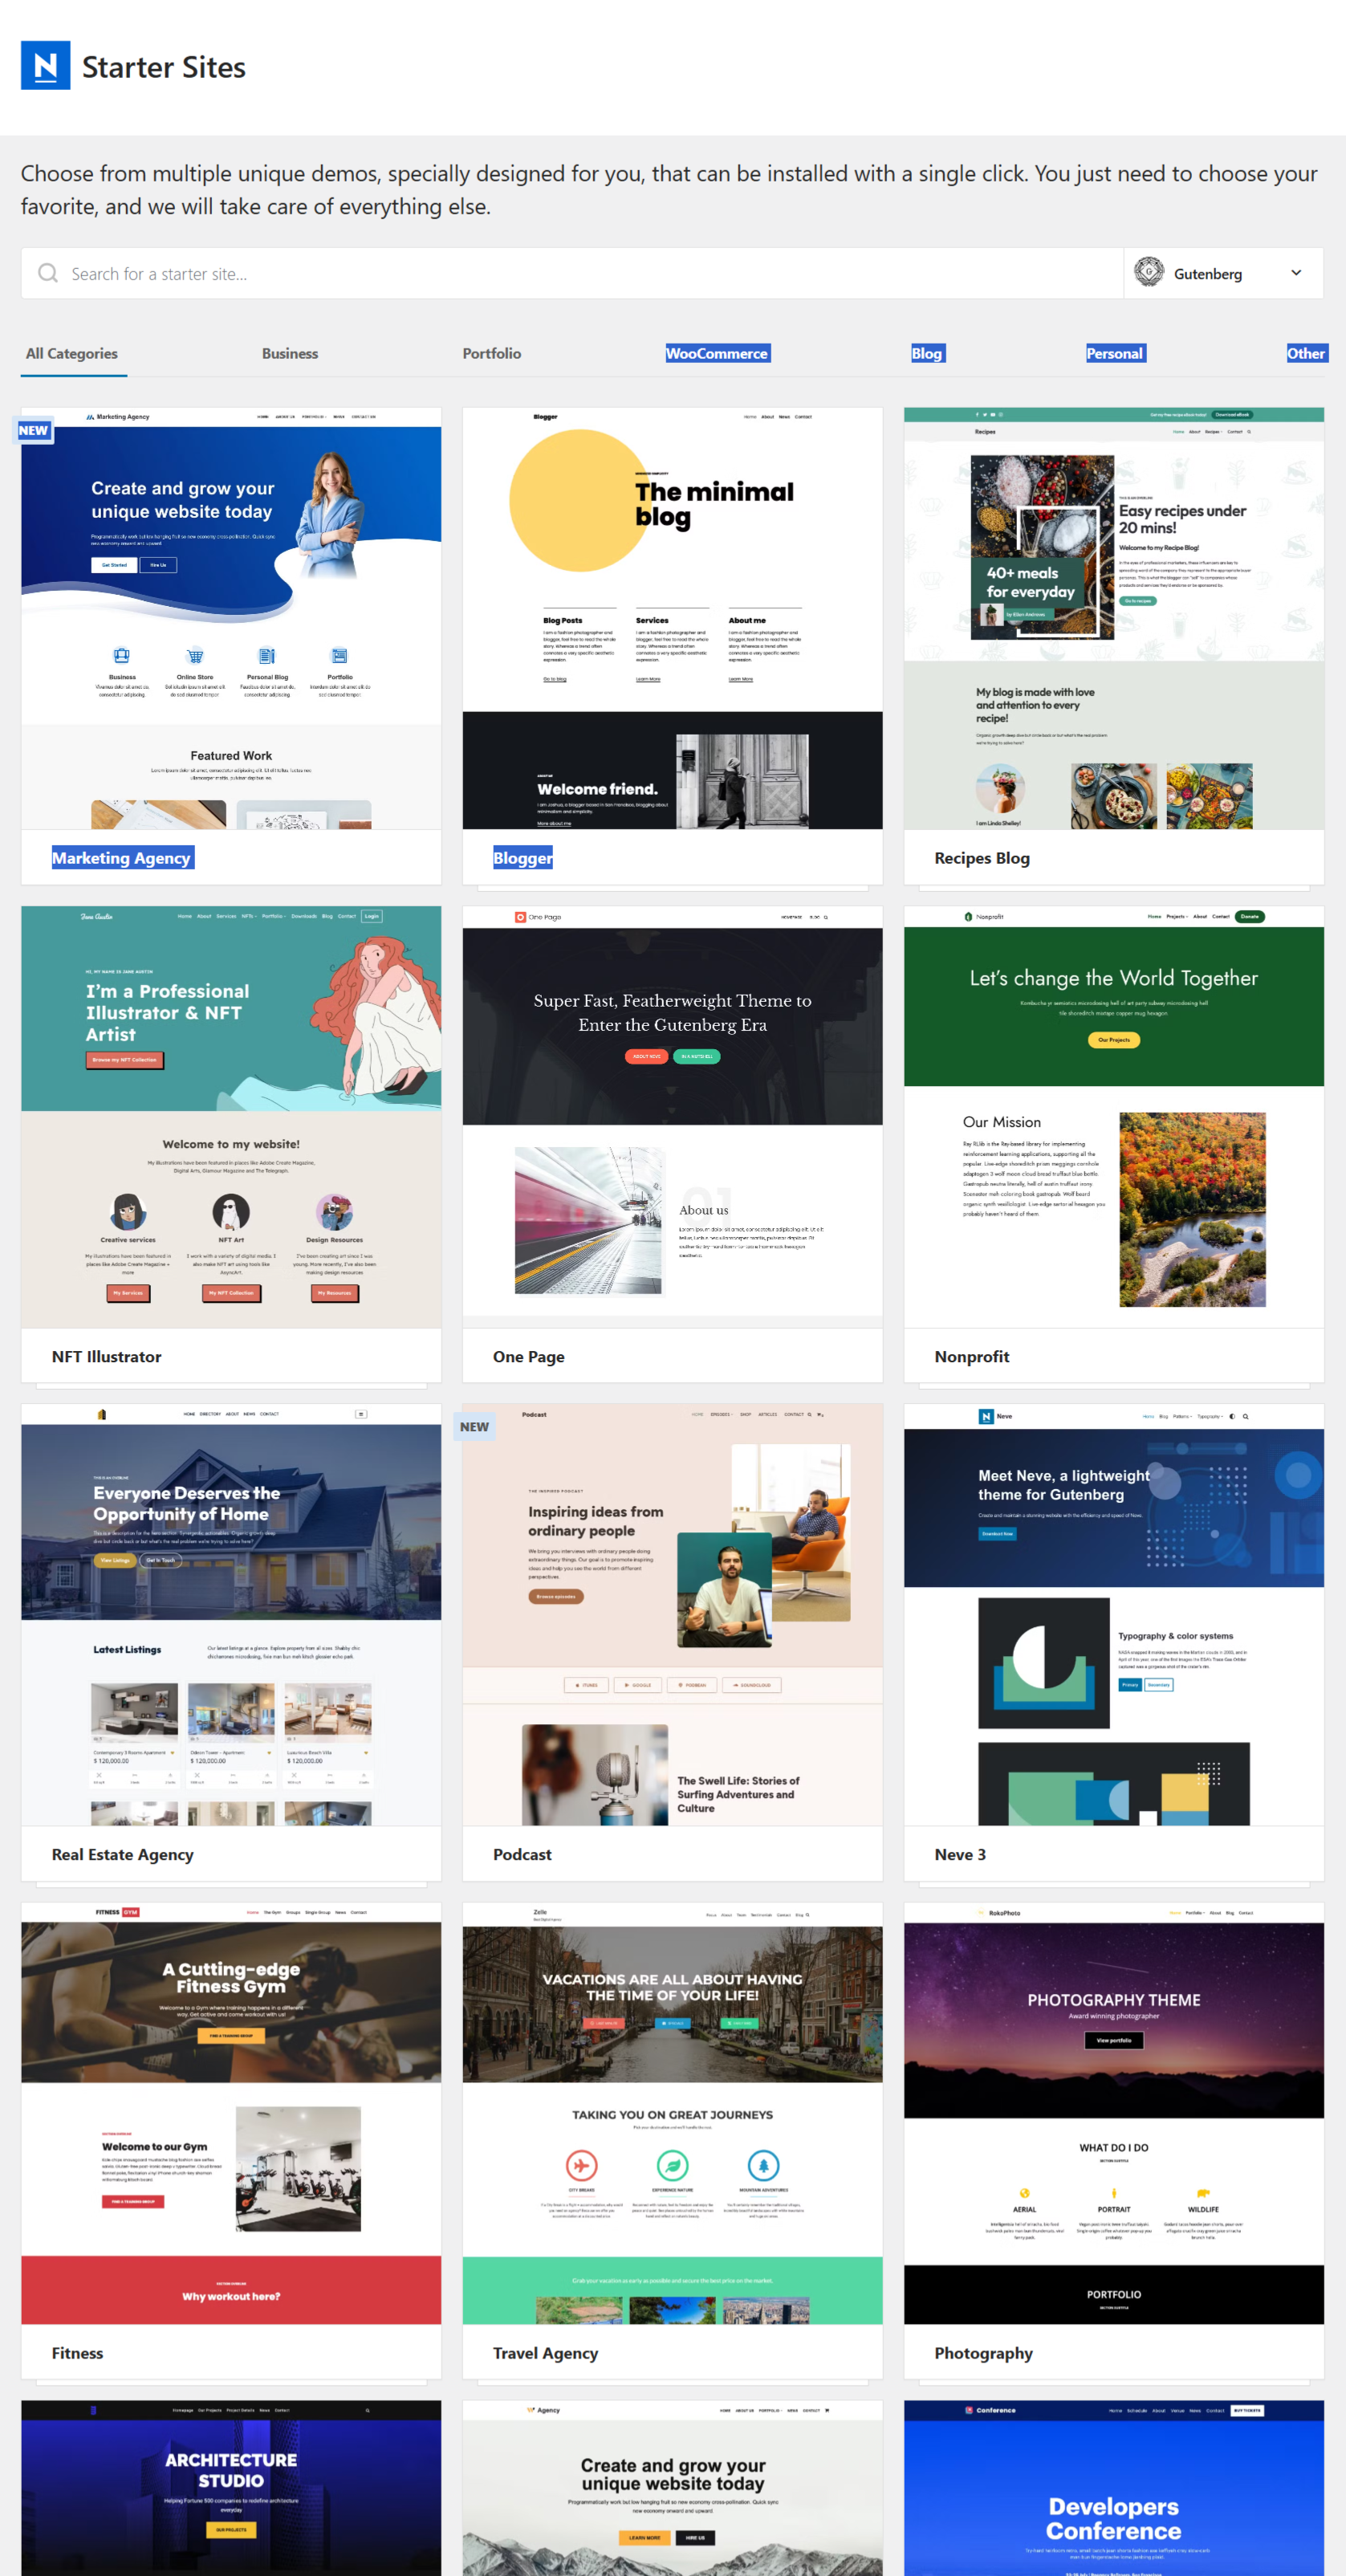
Neve Starter Sites is a plugin designed to simplify the setup process by allowing you to import pre-designed website templates. These templates can give your site a professional look in minutes.
- Navigate to Plugins > Add New in your WordPress dashboard.
- In the search bar, type “Neve Starter Sites” and press enter. Locate the plugin in the results.
- Click Install Now and wait for the installation to complete. Then, click Activate to enable the plugin.
- Go to Appearance > Starter Sites to browse through the available templates. You can filter them by category, such as blogs, portfolios, or online stores.
- Preview the templates and select the one that best matches your website’s goals. Once satisfied, click Import to bring the template into your site.
Step 7: Enable Neve Pro Settings
After installing Neve Pro, activating the premium settings is essential to unlocking all advanced features:
- Navigate to Appearance > Neve Options in your WordPress dashboard.
- Locate the license activation section and enter the license key provided during your purchase. Click Activate License to validate your key.
- Once activated, you can enable Pro features like advanced headers, performance boosters, and WooCommerce enhancements. These features can be toggled on or off based on your requirements.
- Take some time to explore the additional settings under the Pro options menu to ensure you’re leveraging all the premium capabilities of Neve.
Step 8: Customize Your Neve Theme Website
Customization is where Neve shines. Tailor your site to reflect your brand and style.
Upload Logo, Set Your Brand Colors, and Customize Fonts
- Navigate to Appearance > Customize.
- Upload your logo under the Site Identity section.
- Set your brand colors and typography under the Colors & Fonts tab.
Customizing Header and Footer
Neve’s drag-and-drop builder makes header and footer design simple. Add or rearrange elements like menus, social icons, and buttons.
Layout Settings
Under the Layout tab, you can adjust:
- Blog post layout (grid, list, or masonry).
- Sidebar position.
- Container width and spacing.
FAQs: Switch Your WordPress Theme To Neve
- Will switching to Neve affect my website’s content?
- No, your posts and pages will remain intact. However, you may need to reconfigure widgets, menus, and theme-specific settings to match the new theme’s structure and appearance. It’s always a good idea to test your site thoroughly after switching.
- Is Neve compatible with popular plugins?
- Yes, Neve is compatible with a wide range of popular plugins, including Elementor, WooCommerce, Yoast SEO, Contact Form 7, and WordPress. Its compatibility ensures a seamless experience when integrating these tools into your site.
- Can I use Neve for an eCommerce site?
- Absolutely! Neve works seamlessly with WooCommerce and includes features like customizable product pages, optimized checkout layouts, and integration with popular payment gateways. These tools make Neve an excellent choice for creating a professional and conversion-friendly online store.
- Does Neve offer support for multilingual websites?
- Yes, Neve is compatible with popular multilingual plugins like WPML and Polylang. This allows you to create websites in multiple languages, catering to a broader audience.
- Will switching to Neve affect my site’s SEO?
- Neve is built with SEO best practices in mind, featuring clean code, fast load times, and schema integration. However, you should check your SEO settings and reconfigure any theme-specific SEO options after switching.
How To Run a WordPress Website With Neve?
Running a website with Neve is straightforward and efficient. Follow these steps to optimize your site and leverage Neve’s features.
Install the Neve WordPress Template in Just 5 Steps
- Backup your website.
- Download and install the Neve theme.
- Activate Neve and install essential plugins.
- Import a starter site for a quick setup.
- Customize your website.
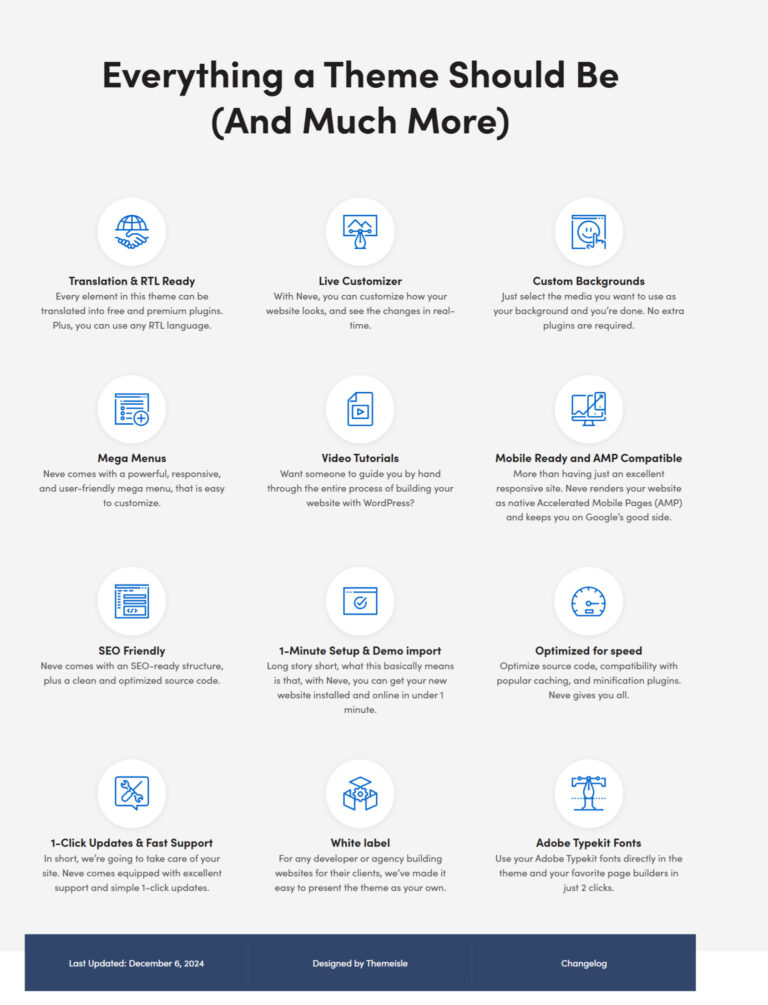
Neve Theme Key Features
- Speed Optimization: Lightning-fast load times.
- SEO-Friendly Design: Built with clean code and schema integration.
- Responsive Layouts: Looks great on any device.
- Customizable Headers and Footers: Design without limitations.
Pros
- Lightweight and fast.
- Compatible with page builders.
- Extensive starter site library.
- Easy to use, even for beginners.
Cons
- Some advanced features require Neve Pro.
- Limited design options in the free version.
Neve Theme Installation & Setup
Header and Footer Using the Drag and Drop Builder
Neve’s builder allows you to:
- Add custom elements.
- Rearrange header and footer components.
- Create unique layouts without coding.
Demo Sites
Import demo sites for a quick start. These pre-designed templates save time and effort.
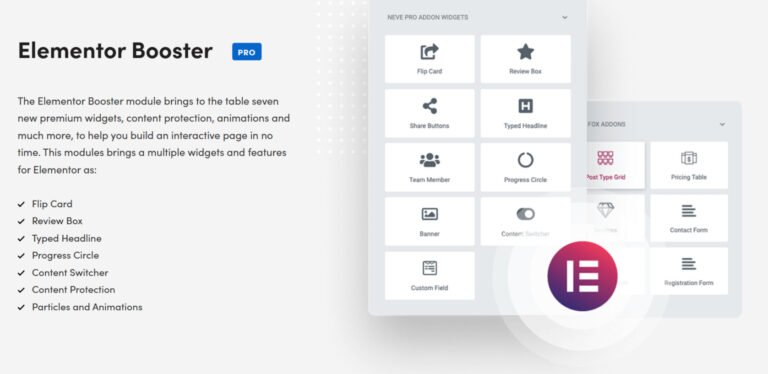
Compatibility with Elementor
Neve integrates seamlessly with Elementor, enabling you to design complex pages with ease.
Layout Options
Customize layouts for posts, pages, and archives to create a consistent look.
Compatible with WooCommerce
Neve is WooCommerce-ready, allowing you to:
- Display products attractively.
- Customize checkout and cart pages.
- Optimize for conversions.
📩 Download and Install Neve
Ready to transform your WordPress website? Download Neve today and experience its speed, flexibility, and design power.
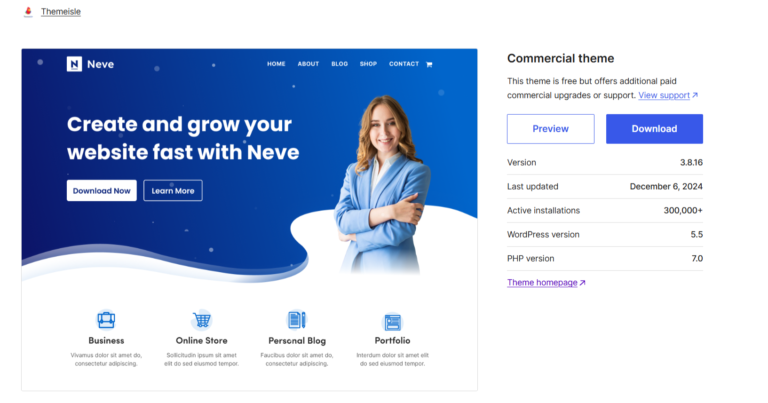
- Neve Free: Available in the WordPress theme repository.
- Neve Pro: Purchase from the official website to unlock premium features.
By following this guide, you can confidently install and run the Neve theme on your WordPress website. Whether you’re a beginner or an experienced user, Neve’s features and flexibility make it a top choice for any website.


