This post will show how to transfer wordpress site to new domain. DreamHost migrate WordPress can be done in simple 5 steps.
The current example shows the Siteground’s GoGeek plan to DreamHost’s Shared Unlimited plan. Both are shared hosting plans.
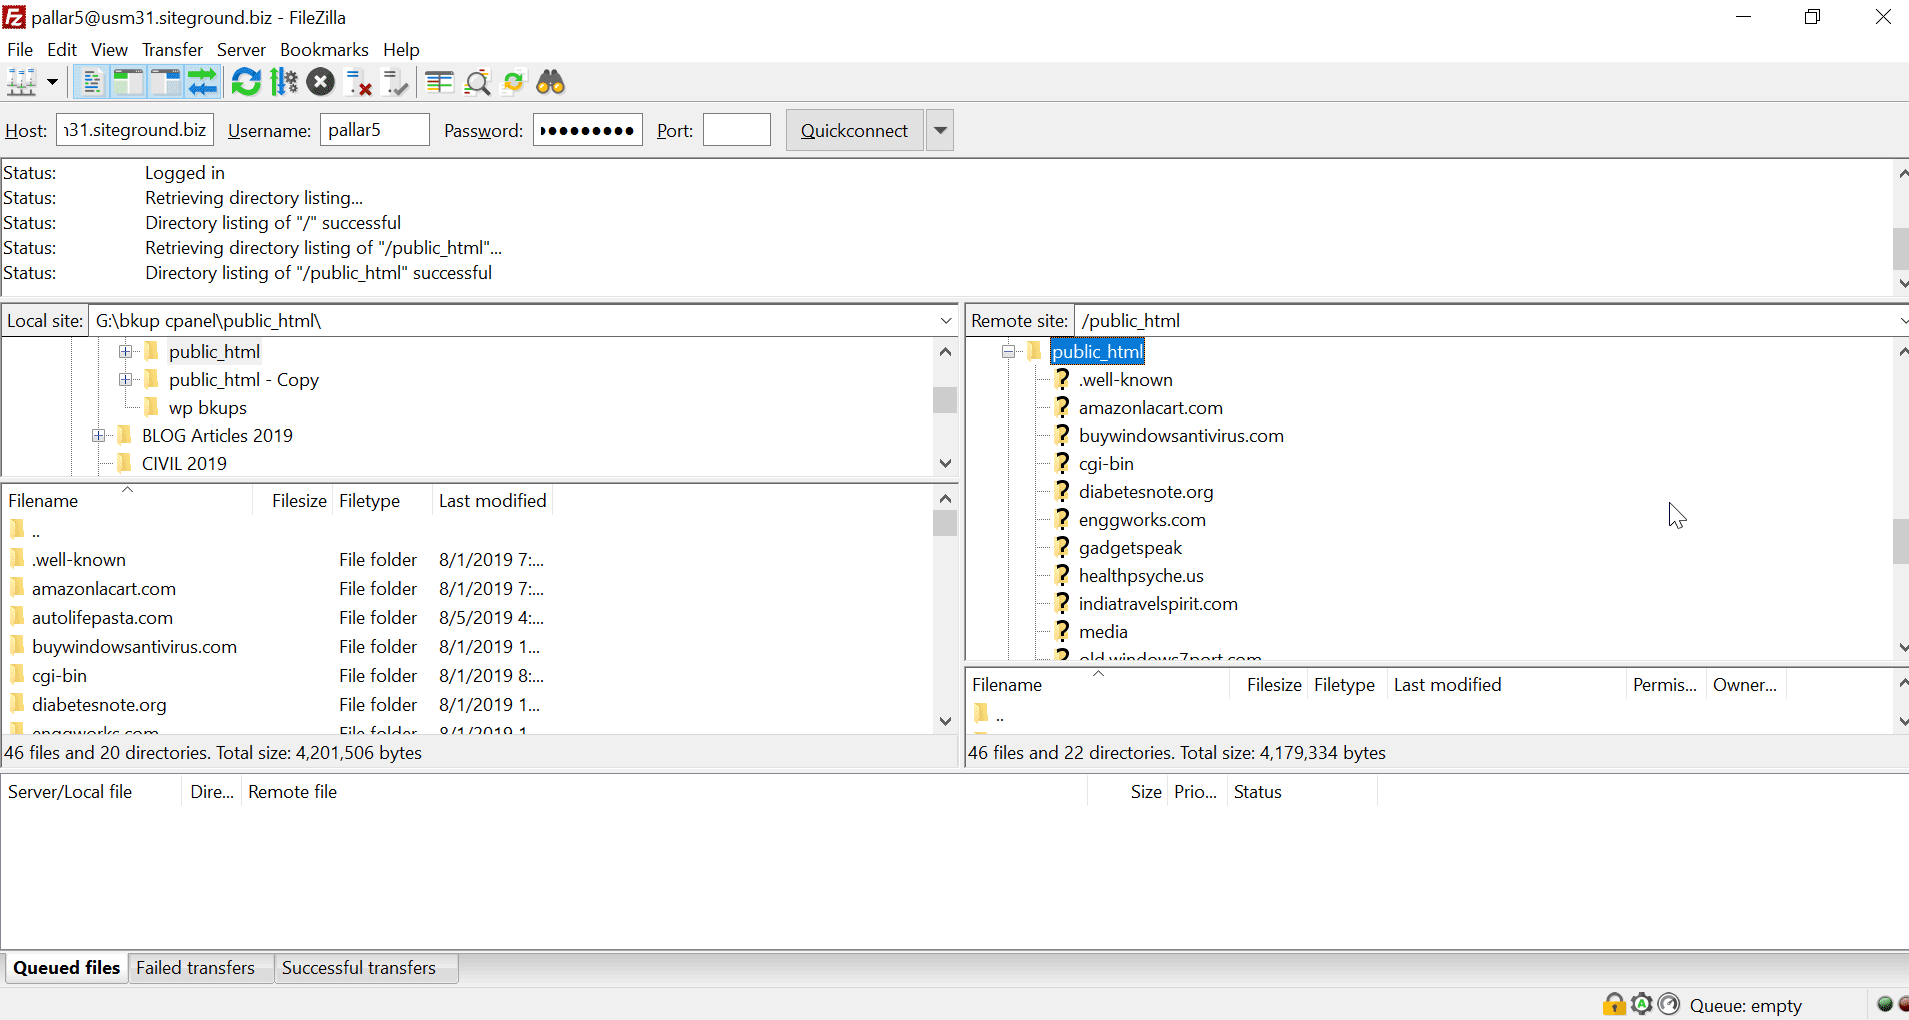
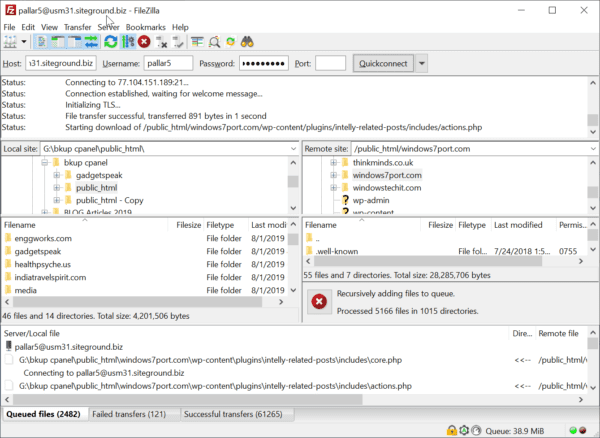
You need to use dreamhost ftp and siteground sftp to transfer wordpress from one host to another. FileZilla is a good client to do this process.
Also Read – Why Rocket.net is Best WordPress Hosting in 2021? Simple Features
How to Migrate WordPress site from one host to another
1. Account with SiteGround
2. New Account with DreamHost
3. FileZilla
4. Internet Connection
This is like moving a wordpress site from one host to another host. But here the hosts serve different control panels. The interface used in SiteGround is different from that of DreamHost.
Also Read – SiteGround Hosting Review – New Control Panel Interface in 2019
1. SiteGround SFTP
The first thing to do is create a SiteGround hosting account.
Generally the GoGeek plan is good and currently priced at $11.95/month for new accounts. If you don’t have much traffic and only few websites, than you can use the StartUp or GrowBig plans.
Once you create the hosting account, half the job is done. Then, account details are emailed to you. Once you login, you will get all FTP and other details.
Also Read – Transfer Emails Siteground to DreamHost Email Hosting – Simple Steps
The same goes with DreamHost Shared Unlimited or Shared Starter plans. Your SFTP details need to be changed or created.
2. DreamHost FTP
SiteGround uses cPanel as their main interface for WordPress files, Email accounts and Databases. But DreamHost uses their custom made panel for the same purpose.
Site Structure in SiteGround typically looks like this.
/home/uname/public_html/domainname/wp-content/
The site will have a different path in DreamHost
/home/uname/domainname/wp-content/wp-content/
Dreamhost NameServers
First you need to copy your site files from SiteGround account to Dreamhost account. When you install WordPress on a domain in SiteGround using Softaculous, a typical folder is created as above.
Also Read – Rocket.net Review – Best Plans and Pricing – Common Features
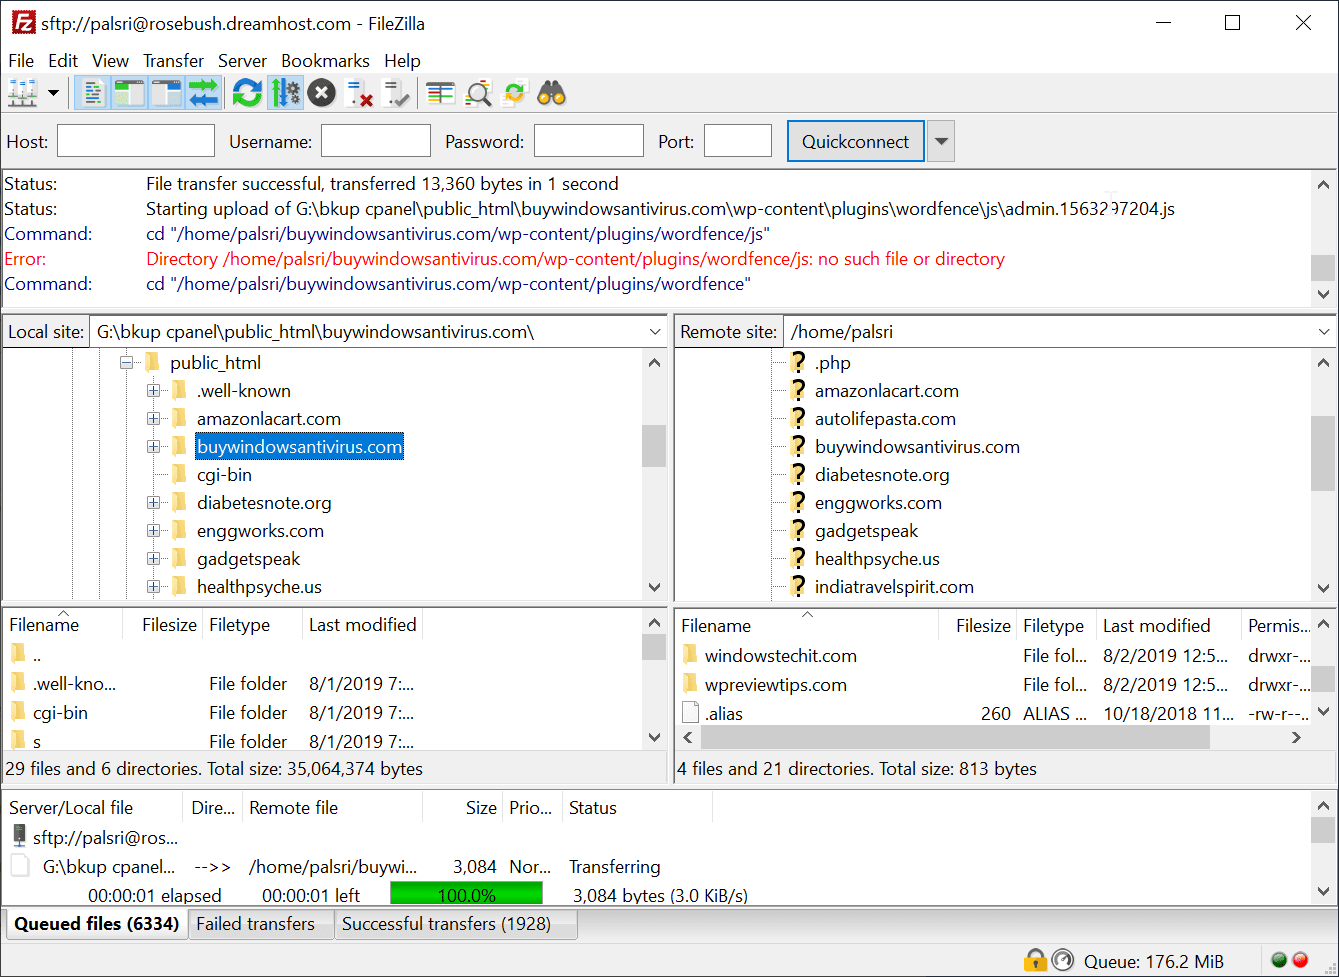
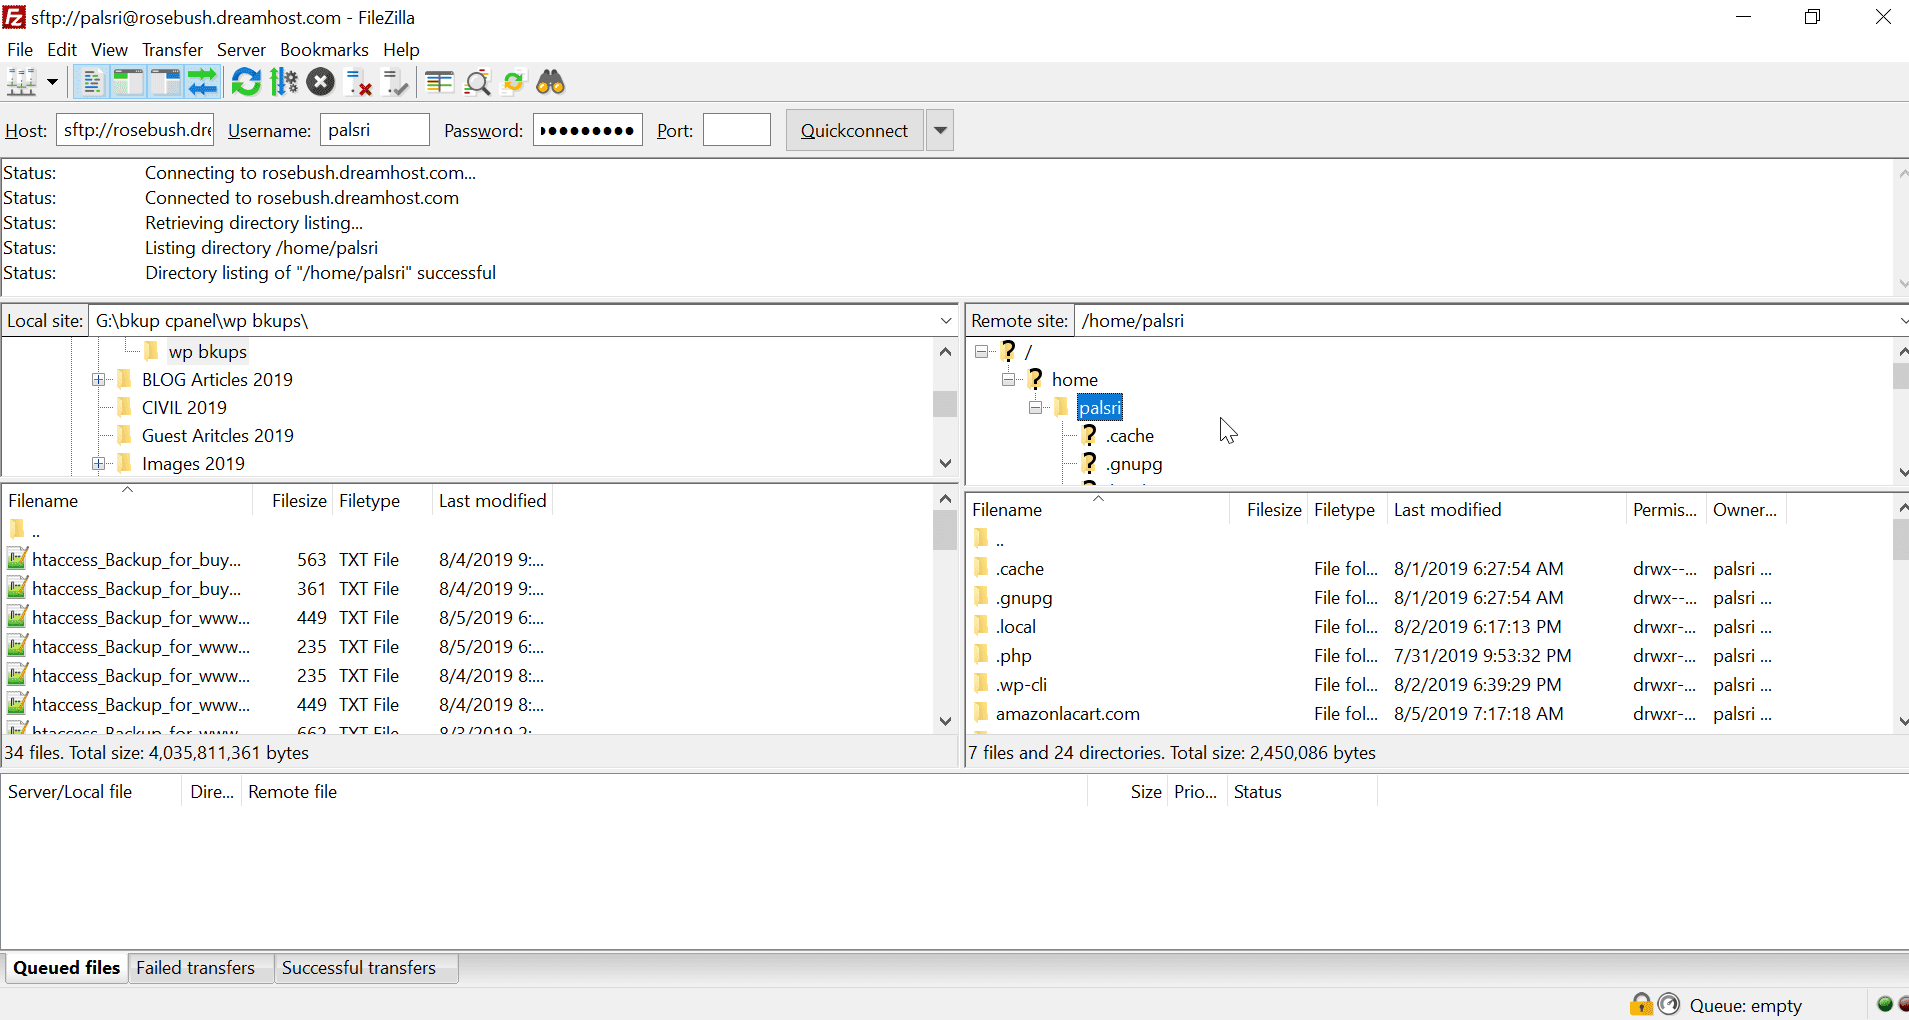
You just need to copy that folder to Dreamhost account using SFTP.
Generally FTP is not permitted on DreamHost by default.
You can take whole backup of your site in SiteGround at one go.
This can be saved as .tar.gz and other compression formats.
Also Read – [Review] #1 Best AMP Plugin in 2020 – Ideal Settings
This is a quicker approach, then doing file by file transfer. You can then copy this file to DreamHost server account and deflate or unzip it.
3. WordPress Import Database from SiteGround to DreamHost
Though you can export the whole SQL file containing the databases of all your sites in one go in SiteGround, it is better to migrate site by site.
In DreamHost backup database if any existing sites already exist.
So it is better you export each database from SiteGround separately and then import it in DreamHost.
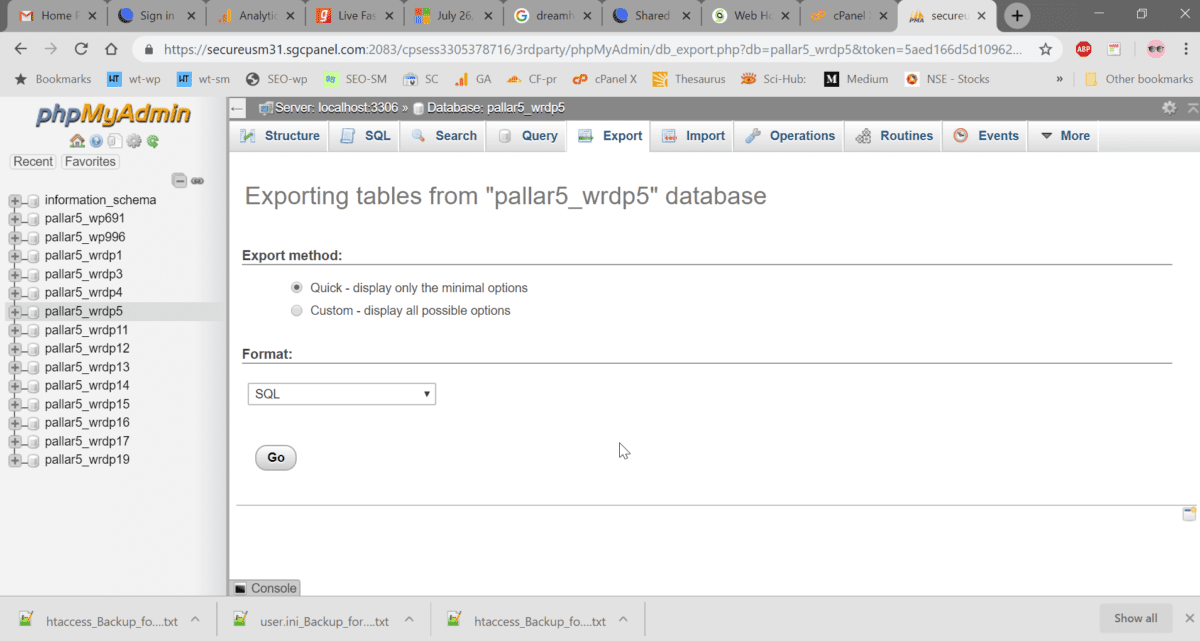
SiteGround MySQL Hostname
Then you need to import the site database from SiteGround to DreamHost.
You can use Export option of phpMyAdmin in SG to export it as a SQL file by default. Then you can use the phpMyAdmin panel of DreamHost.
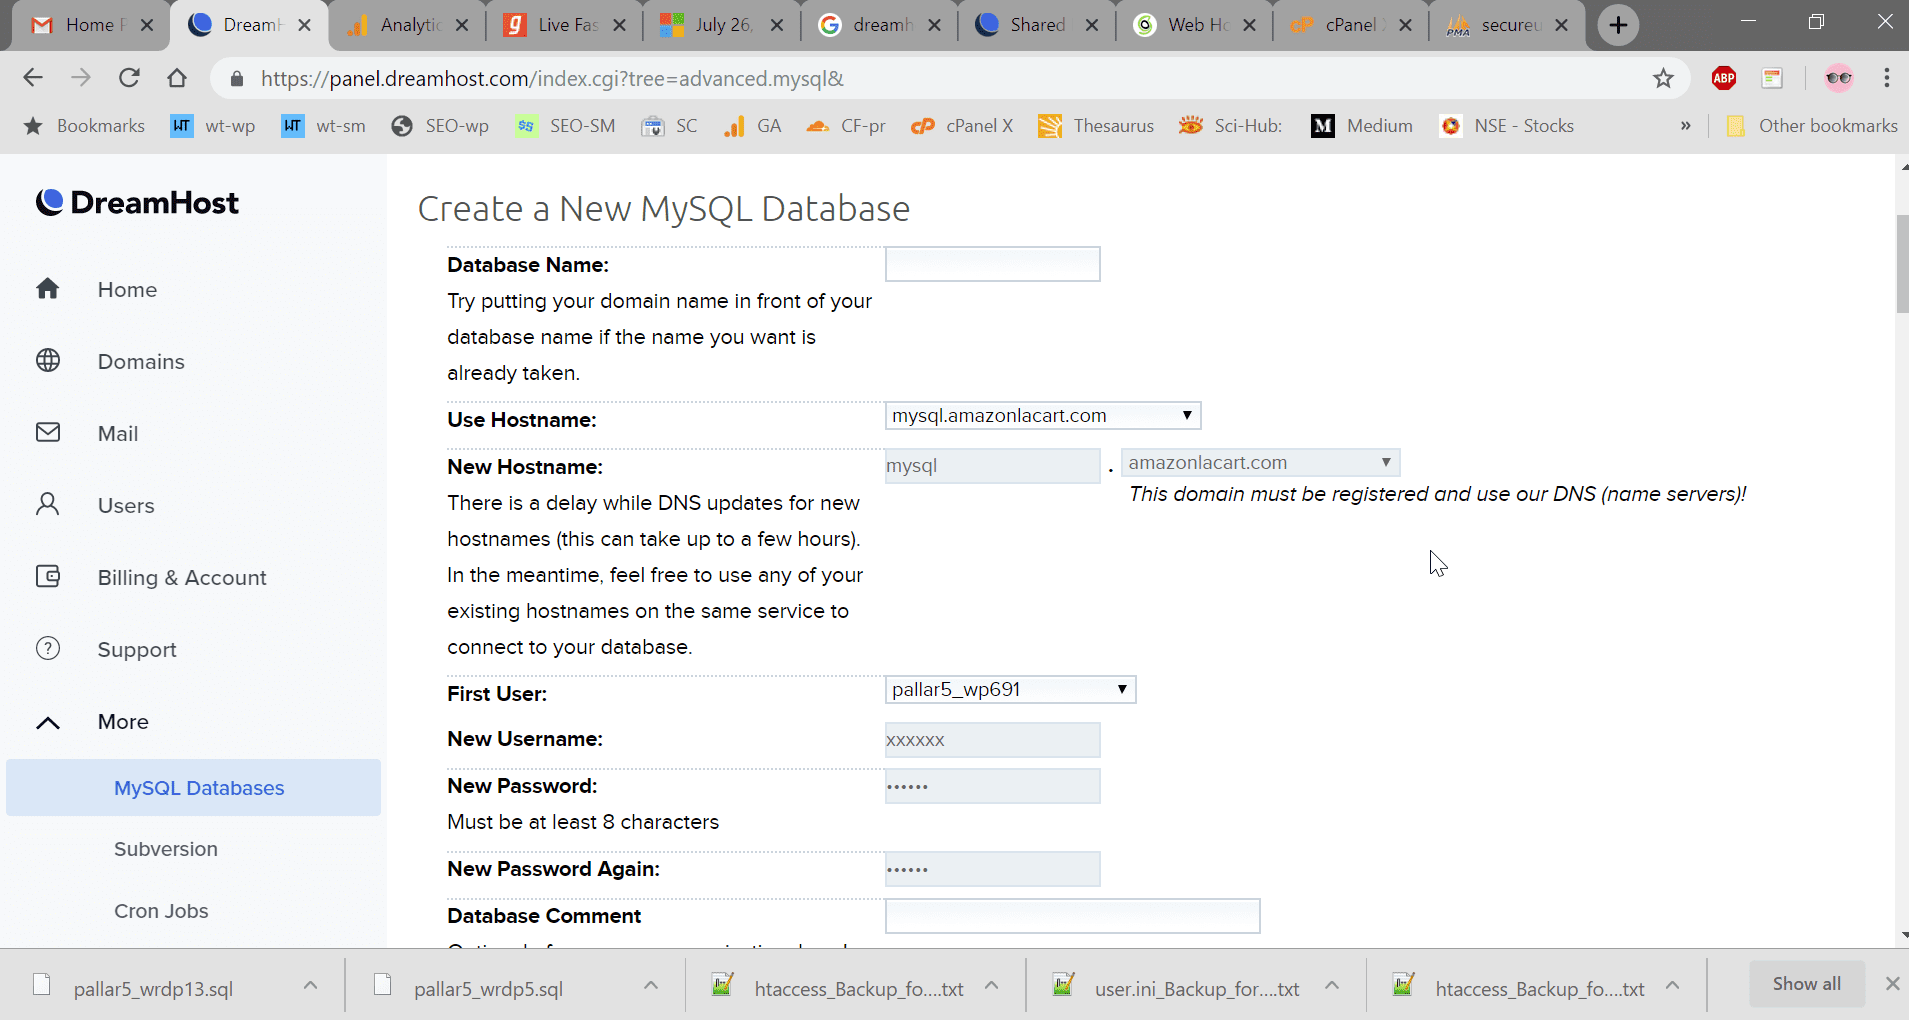
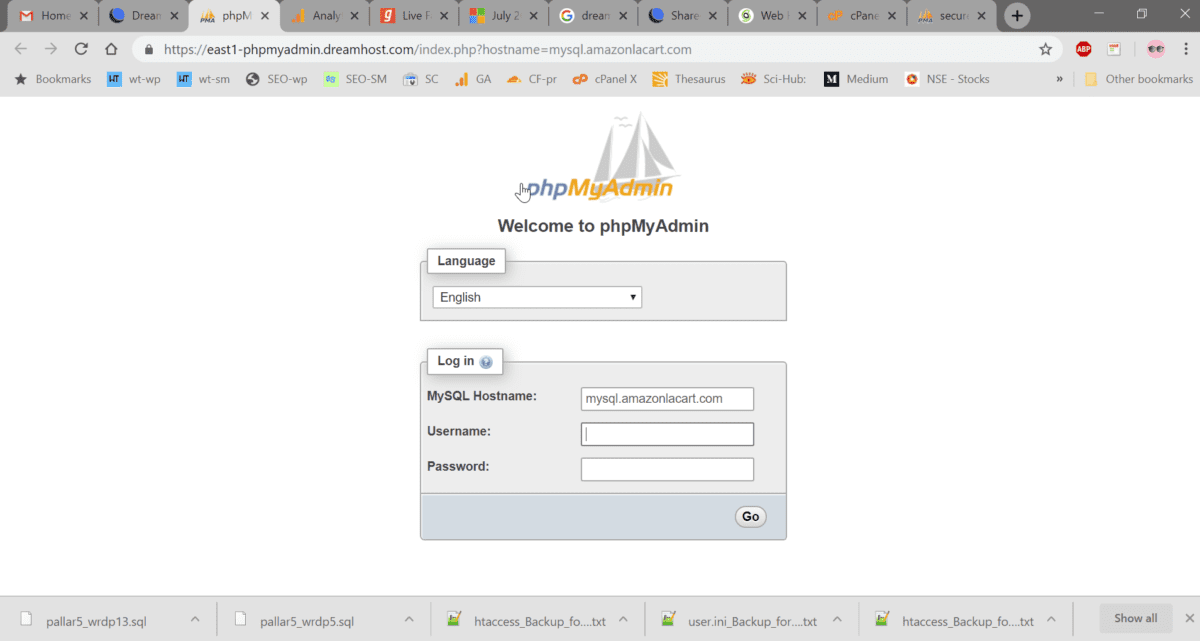
DreamHost MySQL Database
You have to create the following details – MySQL Hostname, username and password in DreamHost while importing the SQL Database.
You can contact DreamHost’s customer support team to get a temporary phpMyAdmin url if your domain DNS is not yet pointed to their servers.
Then select the database name for your site, created earlier and use the Import function. The default settings can be used.
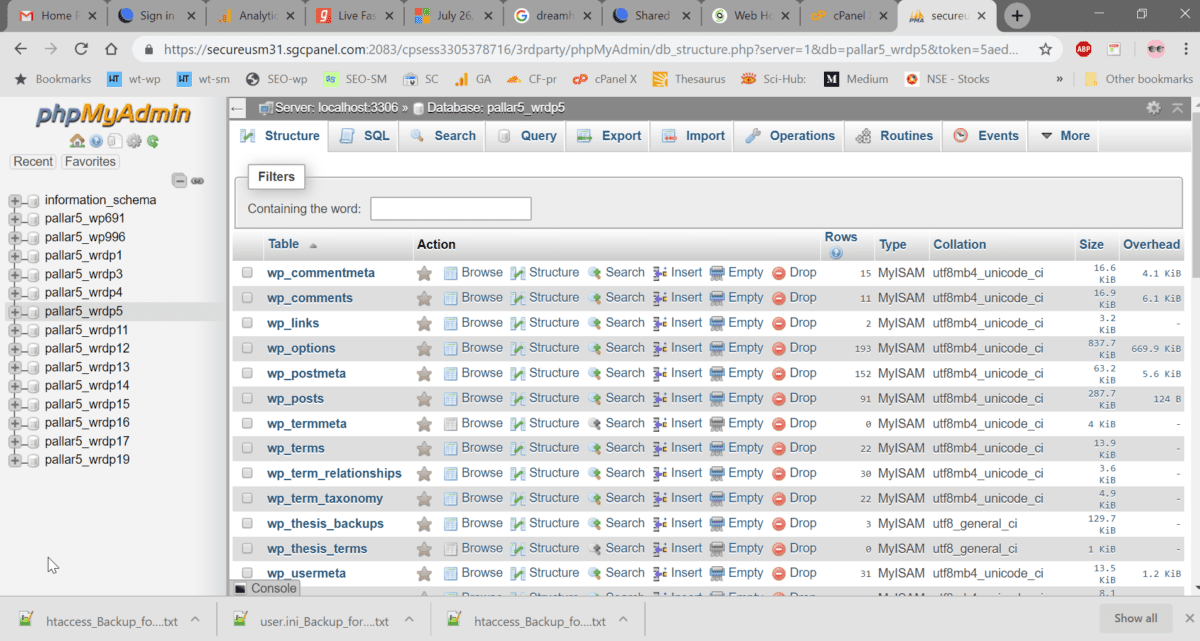
4. How to Migrate WordPress to DreamHost
Once you copy the site files and have imported the SQL database, you have to change login parameters to your site. These include WordPress username and password and SQL Database name and password.
For DreamHost migrate WordPress site, all the details have to be accurate.
Change the values in the wp-config.php file present in the root of your site folder.
The main things to change are –
DB_NAME
DB_USER
DB_PASSWORD
DB_HOST
These are generally different from that of SiteGround wordpress site database details.

5. Siteground Site Migration
The final transfer point is to connect your WordPress site with your domai. You need to point the DNS of your domain to Dreamhost’s nameservers.
These details can be seen your DreamHost panel. Othereise, you can contact the customer support team for these details. DreamHost also has a good knowledge base, which contains different articles related to many issues.
Errors and Solutions during DreamHost Migrate WordPress
1. siteground htaccess file
As we know this file is used to add GZIP compression, Expires headers information, redirection details, browser caching, deny access to hackerts etc, relevant code is added from time to time.
But sometimes this file contains code to the path relevant to SiteGround. When you change to DreamHost you have to replace that path with the correct path. Doinig this is a tedious job.
So better backup your .htaccess file like .htaccess.OFF.
2. Using WordFence Plugin – DreamHost Migrate WordPress
If you are security conscious, you might be using the WordFence plugin. But this contains a file called wordfence-waf.php in the root folder of your site.
Edit it to include the right path of DreamHost server.
Also there is another file created once you activate this plugin. This is .user.ini file. It also contains path to wordfence-waf.php file. It also has to be changed.

3. cgi-bin folder – DreamHost Migrate WordPress
As SiteGround uses cPanel, it contains a folder called cgi-bin in the root folder. Sometimes it can cause problems. So you can delete that folder, as it is not required by DreamHost.
4. wflogs folder
The following folder is located here – /home/<usrname>/<site-root-folder>/wp-content.
DreamHost migrate WordPress site can be successful if all these issues are resolved.
It contains files and folders related to WordFence plugin. So sometimes you need to rename the folder to prevent errors related to “site is facing technical difficulties”.
5. Plugins and Themes – DreamHost Migrate WordPress
Sometimes lot of plugins and themes might not have been upgraded to the latest versions. In another case, the plugins and themes are not updated by the author. In that case, they can cause connection issues. You might get error like “site is facing technical difficulties”.
In that case, request the DreamHost support team to disable the themes and plugins. Otherwise, they can check your plugins and disable the ones causing problems. They will give a note of all the plugins currently installed.
You can also see the active, inactive, require updates etc.
6. Update WordPress
The latest version is 5.2.2. Sometimes old versions can cause “database connection issues” like error 500. Though it can have many reasons, this can also be the reason sometimes.
This can be done with the support of the customer care team. Unless you point your DNS of your domain to DreamHost nameservers, it becomes difficult to update it yourself.
7. Clear the browser cache – DreamHost Migrate WordPress
Sometimes when the customer support team makes changes to your site, the changes may not be reflected at your end. In that case, you need to clear your browser cookies and cache.
This may resolve any errors on your local system side. Also do not make changes to the database or WordPress files, while the support team is working on your error.
This will conflict with the changes they are making. Better wait for the support team to complete the task. Then clear your cache and check.
